| With normal mountain bike gearing and the
alternator's power curve rpm being a good match, I figured that if
I could find a way to mount a Hugh
Piggot-inspired axial flux alternator on a bike axle, it might
make a decent power bike. The advantage of this approach compared
to others I'd seen is the efficiency of the power delivery. Having
done a lot of mountain biking, I am quite aware of how
little power normal humans can deliver continuously. Large
friction losses would render a power bike an impractical
curiosity, not a serious booster for a solar system. I had no
interest in building a bike that wouldn't be used because of
inefficiency. |
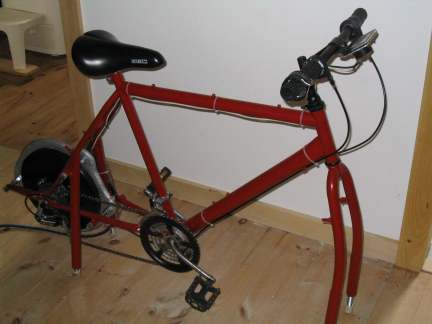 |
| So I set out, with a lot of help from my friends,
to build a power bike for Linda and at the same time gain
experience in alternator construction in preparation for building
wind turbines.
Here is my friend Frank pouring polyester resin into one of the
rotor moulds. Each rotor consists of a 5/16" thick, 12"
diameter steel plate with 12 permanent magnets glued around its
perimeter. Mostly because of rotors' heft, the completed bike weighs
72 pounds. |

|
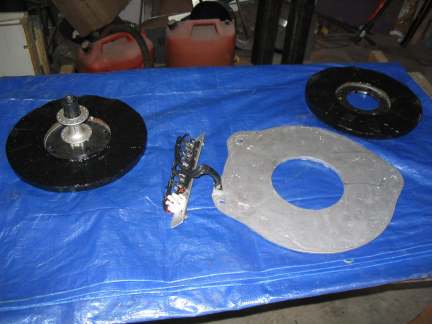
| Here are the freshly painted rotors (black) and the stator, which is a
polyester resin casting containing 10 coils of magnet wire to form
the alternator windings. Linda wound the coils. The left rotor is
bolted to the disk brake mount on the bicycle hub. That new hub
cost about the same as the used bike. |
|
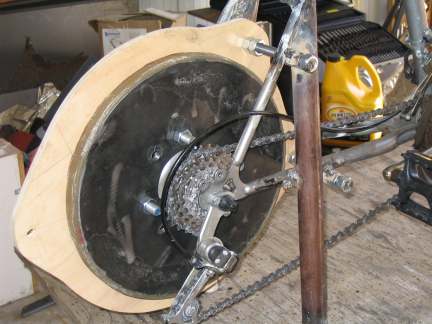
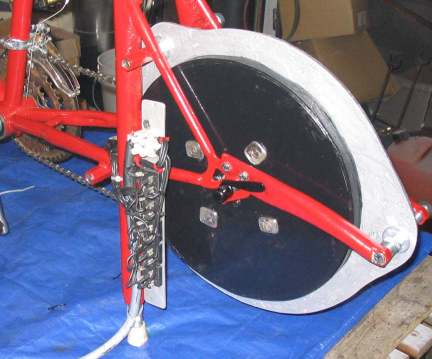
| Here is the plywood stator template installed between the two
rotors. At this point I am building the mount from the axle
dropouts on the frame
to the hole at the rear of the stator. I sorted through a lot of
old bikes at a Pembroke pawn shop before I found this one. It was
a cheap CCM mountain bike for which I paid a steep $65. But it had
nice thick steel frame tubes so I could weld it easily without
blowing holes in it. |
|
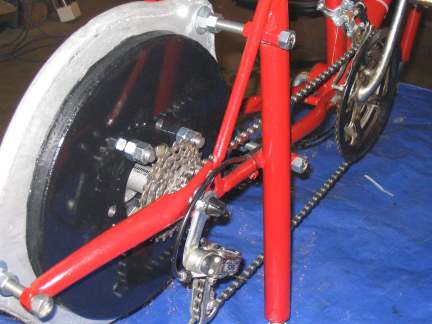
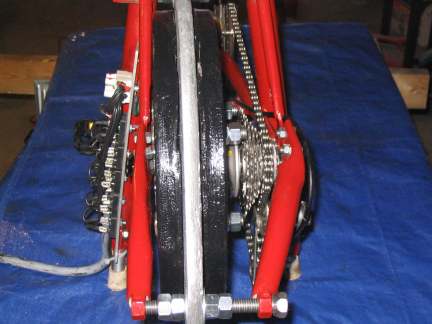
| Here is the completed drive side. Once the bike was fully
assembled it didn't run as smoothly as I'd like, so we put on a
new chain and repacked the bottom bracket bearings. That made it
quiet and smooth. With so many gears to choose from, you can dial
in both your desired peddling cadence and resistance level
exactly. |
|
| The clearances between the frame and left rotor are very tight,
as is the required clearance between the rotors and stator; about
1/16" all around. The slight triangulation of the rear stator
mounts gives them just enough rigidity to firmly locate the
stator. The mounts are made from the tapered oval front fork tubes from
an old bike I found at the local dump. I had to do a lot of heating and bending of the left chain
stay and seat stay of the frame to get clearance for the left
rotor. The whole thing looks too tight to turn freely, but it
does, silently. |
|
| Here is the bank of five rectifiers that convert the
alternating current to direct current for battery
charging. There wasn't room for nuts on the threaded rods joining
the two rotors so I drilled and threaded and then welded squares
of 1/8" steel to the ends of the mounting studs. They
just barely clear the frame as the rotors turn. |
|
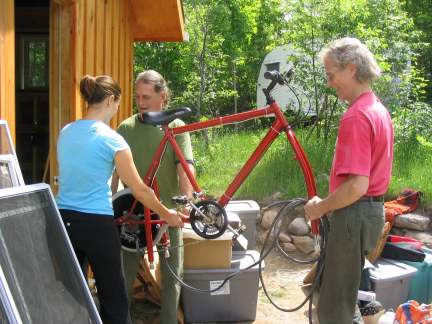
| This is Frank, Tamara (Linda's daughter) and me
carrying the bike into the house. The thing is heavy. |
 |
| Here is Linda testing out the bike.
This is a very satisfying bike to pedal. It is quiet and smooth
and produces good power, about 30 amps peak and 5 to 10 amps
continuous, depending on your bike fitness level. Peddling
resistance builds in a perfectly linear way as the alternator rpm
rises. |
 |
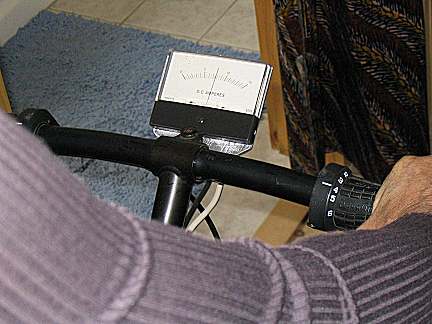
| A look over Linda's shoulder as she pedals. She's making about 8 amps, full scale being 15. Our local
electronics guy Brian, who helped with wiring and other issues, happened to
have this good-looking ammeter still in its original box. He
figures he's had it for at least 30 years. It's a nice touch.
This was a fun project all round. I guess time will tell if the
work and cost was worthwhile. Having built this alternator, I have
a lot more confidence in building one for a turbine that will be a
hundred feet in the air.
|
 |